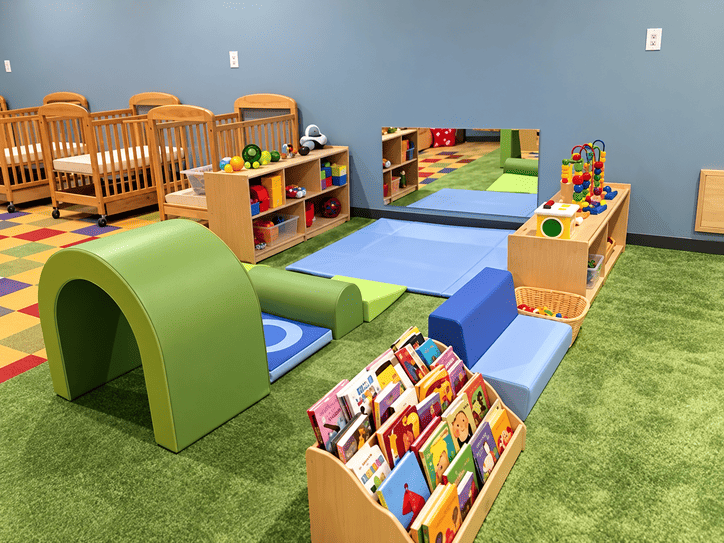
Classroom Layouts for Early Learning Rooms
Key takeaways:
- The best layout for young children is zoned, not rowed: quiet beside quiet, wet beside a sink, and active play away from sleep.
- Six floor plans cover most rooms, from an infant room to a 16-child 3-to-5 room and an odd-shaped space you cannot rebuild.
- Read any plan for four things before you move a shelf: wet and dry, loud and quiet, traffic lanes, and sightlines from one standing adult.
- The problems we find on site visits are usually the same three: a runway that invites running, a dead corner nobody claims, and blocks dropped beside the book area.
Walk into two early learning rooms of the same size and you can often tell which one runs smoothly before a child says a word. The calm room is zoned. The hard room is a field of tables with nowhere specific to go.
Rows work when one adult teaches one lesson to children who can sit still. A room full of 2-to-5-year-olds does neither.
Children move between activities all day, so the room has to carry the directions instead of the teacher repeating them. That is the whole idea behind classroom layouts for early childhood: you arrange the space so the furniture tells a child where they are and what happens there.
Our team at SB Custom Learning plans and furnishes rooms like this across the Midwest, and the pattern holds in every one. The rooms that work were planned on paper first, around the doors and the sink that cannot move, not around a catalog page.
The Short Answer: Best Classroom Layouts Are Zoned
If you read nothing else, read this. The best classroom layouts for young children divide the floor into defined zones rather than a single open field or a grid of tables. Each zone has a job, and the furniture around it signals that job to a child who cannot yet read a sign.
A zone usually has three parts: a clear boundary, a surface or a rug that says what happens here, and low storage a child can reach without help. A block corner with a low shelf on two sides works. The same blocks spread along a wall next to the door do not, because nothing tells a child the play has edges.

Zoning is also how you protect the adults. NAEYC's Young Children makes the point plainly: the classroom environment plays a central role in encouraging positive behavior, and its self-assessment asks teachers to design the physical space to maximize structure and predictability.
A predictable room saves the teacher's attention, which means more of it reaches the child who is struggling. Children in those rooms know where to go without being told, which is easy to see in the rooms we have furnished.
How to Read a Classroom Layout Before You Move Anything
Before shelves move, read the room. Four questions sort almost every layout decision, and none of them needs a tape measure to start. Stand at the door and answer them in order.
Wet and Dry
Messy play belongs together, near the sink and on a floor that survives water. Art, sensory, water and snack all want the same corner, because that corner is where the drips already land. Put a hard, cleanable surface under all of it and keep the rug zones elsewhere.
When the sensory table sits across the room from the sink, every spill turns into a walk across traffic, and the walk gets longer as the day goes on.
Loud and Quiet
The noisiest zones should not share a wall with the quietest. Blocks, dramatic play and gross motor produce sound by design. Library, rest and a cozy corner need the opposite.
The bluntest version of this move is usually the right one. Split the room into a loud half and a quiet half before you place a single shelf, and where a program has two adjoining rooms, run that split across both. Every later zoning decision gets easier once the line is drawn.
Traffic Lanes
Draw the paths children actually walk: door to cubby, cubby to sink, sink to table, table to outside. Those lanes should be wide enough for two children to pass and free of any zone that a child can wander into.
A lane that dead-ends, or one that runs straight through the middle of the block corner, is where collisions start. Wide lanes look wasteful on paper and save time all year.
Sightlines From One Standing Adult
Stand where a teacher stands most, usually the busiest center or the sink, and scan the room. You should be able to see every child's head and shoulders from that spot without moving.
Rooms fail this test in the same way: a tall shelf or a room divider blocks a corner, or a cozy nook tucks behind a loft. When you cannot see a child, you cannot supervise them, and a licensing walkthrough will notice.

A quick walk-through catches all four reads before you commit. Do it once with the current furniture, then once more on paper.
- Stand at the main door and mark the four lanes onto a sketch.
- Note which zones already sit next to water and which do not.
- List the loud zones and the quiet zones, then draw a line between the two groups.
- Walk to the busiest spot and check whether any corner is hidden.
- Count the children the room must hold at its licensed capacity, not its usual day.
- Mark every fixed item you cannot move, from the sink to the radiator.
- Photograph the empty room from the doorway before anything is placed.
That list is the whole audit, and the read itself is free and takes ten minutes. The floor plan comes later, when classroom design principles shape where each zone lands.
Six Classroom Layouts, by Age and Room Size
No two rooms are identical, but most center rooms fall into one of six shapes. The table below is the short version, and each plan after it explains the zoning in words. These are the ideas for classroom layout we start from in a new room.
The figures below are the floor area to plan for each group, sized from the per-child minimums we work to. A room's total size always runs larger than that, because bathrooms, cubbies, storage and walkways do not count toward the minimum, so check your own licensing agency before you commit.
| Plan | Floor area to plan | Group | Zones | Watch for |
|---|---|---|---|---|
| Infant room | About 440 sq ft | 8 infants | Sleep, feeding, changing, floor play, cozy | Play space and sleep space are counted separately |
| Toddler room | 380 to 420 sq ft on cots | 8 to 10 toddlers | Diapering, floor play, low blocks, snack, cozy | A room sleeping toddlers in cribs needs 55 sq ft a child |
| 3-to-5 room | 700 to 800 sq ft | 16 children | Dramatic play, blocks, art and writing, sensory, library, math, science, group rug | Keep the noisiest zones off the library wall |
| Small or odd-shaped room | About 400 sq ft | 8 to 10 children | Three or four zones, doubled duty | A central post or a narrow run shortens sightlines |
| Mixed-age room | About 500 sq ft | 12 children, ages 2 to 5 | Duplicated block and pretend areas, plus a protected corner for the youngest | The youngest child finds the smallest pieces first |
| Older room with a small-group table | 770 to 800 sq ft | 18 to 22 children | Small-group table, library, blocks, art, science, meeting rug | The small-group table must sit where a teacher can still scan the room |
Read the table as a starting point, then read the plan that matches your room, because the square footage is only half the decision.
An Infant Room (Under 12 Months)
Cribs drive this plan. Illinois gives an infant room two separate allowances rather than one: 25 square feet a child for the play area and 30 a child for the sleeping area, applied whether or not the two share a room. The cribs themselves need two feet of clear space between them.
Lay the room out so a standing adult can see the cribs, the changing table and the floor play at once. Put feeding in its own corner with a comfortable adult seat, because a feeding chair is a place a teacher spends real time.
Keep the floor-play zone soft and walled by low shelving rather than left open to the door. Infants need a defined patch they can roll around in, not the whole room. The changing station belongs within the triangle of the three other zones, never behind a divider.
A Toddler Room (12 to 36 Months)
Toddlers move, so the plan does two jobs: it gives them a clear run for movement and it keeps that run away from the rest area. Put low blocks and a climbing piece at one end, diapering and the sink at the other, and the snack table near both.
Cots come out later, so leave enough open floor in the middle that the room can empty and reset at rest time. A room that sleeps its toddlers in cribs rather than stackable cots needs considerably more floor, 55 square feet a child in Illinois against 35, which is the single figure most likely to catch a center out.
Low, open shelving does the dividing here. Toddlers pull everything out, so every shelf should face the zone it serves and hold only what fits that zone. A shelf with no front and no back is a wall with purpose, and it is the cheapest divider in the room.
A 16-Child Room for Ages 3 to 5
This is the standard center room, and it needs the most zones. Plan for dramatic play, blocks, art and writing, a sensory table, a library, math and manipulatives, science, and a group rug.
Sixteen children at a 35-square-foot activity minimum need at least 560 square feet of usable floor, and a full set of zones lands closer to 700, so give each zone a real footprint rather than a corner of a table.
Group the quiet zones, library and writing, on one side, and the loud zones, blocks and dramatic play, on the other.
A Montessori classroom layout arranges the same idea with low, open shelves in a U or L so a child can reach every material alone, which keeps the teacher's sightlines open across the room at the same time. That open sightline is the whole point of the arrangement in a busy room, and we plan it alongside the conventional version in the Montessori-inspired room guide.
A Small or Odd-Shaped Room
Small rooms and rooms with a post in the middle work well with fewer, larger zones and honest traffic lanes.
Aim for three or four zones instead of eight, and let one table serve art in the morning and snack after lunch. A room of about 400 square feet can hold a block corner, a library nook, a table zone and a sensory spot if each one is bounded by shelving rather than left open.
The post is the test. Walk to the spot where you would supervise and check whether the post hides a child behind it. If it does, rotate the zones around the post instead of fighting it, and use the two sides it creates as natural edges.
An odd shape usually gives you one good corner and one awkward one, so put the quiet zone in the good corner and the storage in the awkward one. One of the rooms we are proudest of is the custom play loft we designed and installed for Educare Chicago, which turned a tall, awkward space into usable floor.
A Mixed-Age Room
Mixed ages need duplicated zones, not shared ones. If a 2-year-old and a 5-year-old share a block area, both will reach for the same pieces, and the younger child will lose. Give each age the same zone with different materials, and separate the two with a low divider so a teacher can still see both.
Protect the youngest child's floor space from the smallest pieces. A cozy corner with soft seating, board books and mouth-safe toys keeps a toddler occupied while older children build. The room then runs as two overlapping worlds rather than one where the oldest children set the pace.
A Larger Room for Your Oldest Group
A room holding 18 to 22 of your oldest children needs one zone the younger rooms do not: a small-group table for guided work. Place it where a teacher can sit with four or five children and still scan the rest of the room, which usually means facing the group area rather than turning your back on it.
That table is also the one zone that needs adult-sized space. Keep it clear of the main traffic lane and a guided group will not be interrupted by every trip to the sink.
The rest of the plan can breathe more than a toddler room, because children this age manage themselves and their materials. Pair the small-group table with a library, a block or building area, an art station and a science shelf, and define each with furniture instead of walls.
The room can then change between a quiet morning and an active afternoon. The same bones carry into an elementary classroom layout if your building also runs a school-age program, which is why these ideas for classroom layout keep working as a group grows older.
Adapting a Plan to the Room You Already Have
Designing a classroom layout starts with what you cannot change. You rarely get a blank room. You start with doors in the wrong place, a sink on one wall, windows on another, and a radiator or a column you cannot move. The plan bends around them, not the other way around. Read every fixed element first and design the zones that survive it.

The fixed items decide the two hardest zones. The sink claims the wet zone, so treat it as the anchor of a classroom design layout and set messy play beside it whether or not that is the prettiest wall.
The windows decide the quiet zone too, though by ruling a wall out rather than claiming one. If they look onto a street or a playground, that is the wrong wall for rest or reading, because a child who can watch something will watch it, so the quiet corner goes where there is less going on outside. Everything else can adapt.
Where a room cannot be rebuilt, the same principles that shape a full plan still apply, and the sequence for working them out sits in our space planning guide. What matters in a rented or inherited room is the order: lock the fixed elements, place the wet and noisy zones, then fill the remainder with quiet zones and traffic lanes.
Write down the fixed elements before you draw anything. This is the list we collect on a first visit.
- Doors, and which way each one opens.
- Windows, and what a child can see through them.
- The sink, the water heater and any floor drain.
- Radiators, baseboard heat and air vents.
- Columns, posts and half walls.
- Outlets and any cable a child could reach.
- Emergency exits, and the path to each one.
- The bathroom or diapering room, and its door.
- Storage closets and built-in cabinetry.
- The longest unbroken wall, which usually holds the best zones.
Once those are mapped, the rest of a classroom design layout falls into place: the room tells you where the wet zone goes and which corner is the quiet one. The remaining decisions are about size and sightlines, not imagination.
The Three Layout Problems We Find on Site Visits
We walk a lot of rooms before we quote one, and the same three problems turn up again and again. None is expensive to fix, and each one shows up as a behavior problem before anyone names it as a layout problem.

The first is the runway. A long, empty straight path between two zones turns into a running track, because a child moving fast has nothing to slow them down. Fix it by breaking the path with a furniture island or by angling a shelf across the middle so the run becomes a turn.
The second is the dead corner. Every room has one spot that belongs to nobody, usually where two walls meet behind a doorway. Children do not play there and teachers cannot see there, which makes it ideal for hiding, dumping toys, or both. Claim it with a small zone or a piece of purposeful storage. A dead corner that holds the diapering supplies is a dead corner that works.
The third is blocks beside the book area, or any loud zone sharing a wall with a quiet one. Blocks tumble, dramatic play shouts and the library suffers, so the child who wanted to read is the one who moves.
Separate them, and where the room is too small to separate them fully, use a divider so the sound and the toppling have an edge. That is the case room dividers are built for, dividing a room without construction in a space you do not own.
None of the three needs new furniture to solve. They need the plan to admit what the room is doing and to give each zone an edge.
How Much Space Each Room Needs
Square footage is where a layout stops being a matter of taste, because the law sets a floor and the health standard sets a higher one. Plan to the higher number where you can, and never below the code.
In Illinois, the licensing agency changed on July 1, 2026: the Illinois Department of Early Childhood (IDEC) now administers the rules the Illinois Department of Children and Family Services (DCFS) used to enforce. For children 2 and up the minimum is 35 square feet of activity area each, and activity area excludes the bathrooms, the kitchen, storage, office space, exit passages and any gym used only for large-muscle play.
Infants and toddlers are counted on a different basis again. Their space is measured as play space plus sleeping space rather than as activity area, and the figure turns on whether the room sleeps children in cribs or on stackable cots.
Other states set their own numbers, so your state's licensing agency is the source for your building, not Illinois.
The national health standard, Caring for Our Children, asks for 42 square feet of usable floor space per child and prefers 50. Check what that figure measures before setting it beside a licensing number, because it counts only the floor a child plays on and excludes walkways, staff work areas and the floor under the bookcases, sofas and tables.
| Room | Plan for, per child | Source |
|---|---|---|
| Infant room, cribs | 25 sq ft of play space plus 30 sq ft of sleeping space | Illinois licensing |
| Toddler room, stackable cots | 35 sq ft, play and sleep in one room | Illinois licensing |
| Toddler room, cribs | 55 sq ft, play and sleep in one room | Illinois licensing |
| 3-to-5 room | 35 sq ft of activity area as the legal floor, 42 to 50 of usable floor space by the health standard | Illinois licensing, Caring for Our Children |
The gap between the legal floor and the health standard is not decoration. The extra space is what lets traffic lanes stay wide, what keeps a block corner from crowding the library, and what gives a teacher a clear path to a child.
A room planned at the legal minimum is legal. A room planned at the health standard is workable, and the difference is usually a shelf you decide not to buy. Getting the square footage right is only half the job; the other half is the order you do each task in, which our classroom setup order guide lays out step by step.
Get Your Layout Drawn
A floor plan you can see beats a plan in your head. It is the fastest way to create classroom layout options before you buy anything.
A free classroom layout maker lets you test furniture in place before you move any of it, and one that runs in a browser is enough for a single room. A classroom layout generator is best for testing one room quickly; larger projects deserve a measured plan.
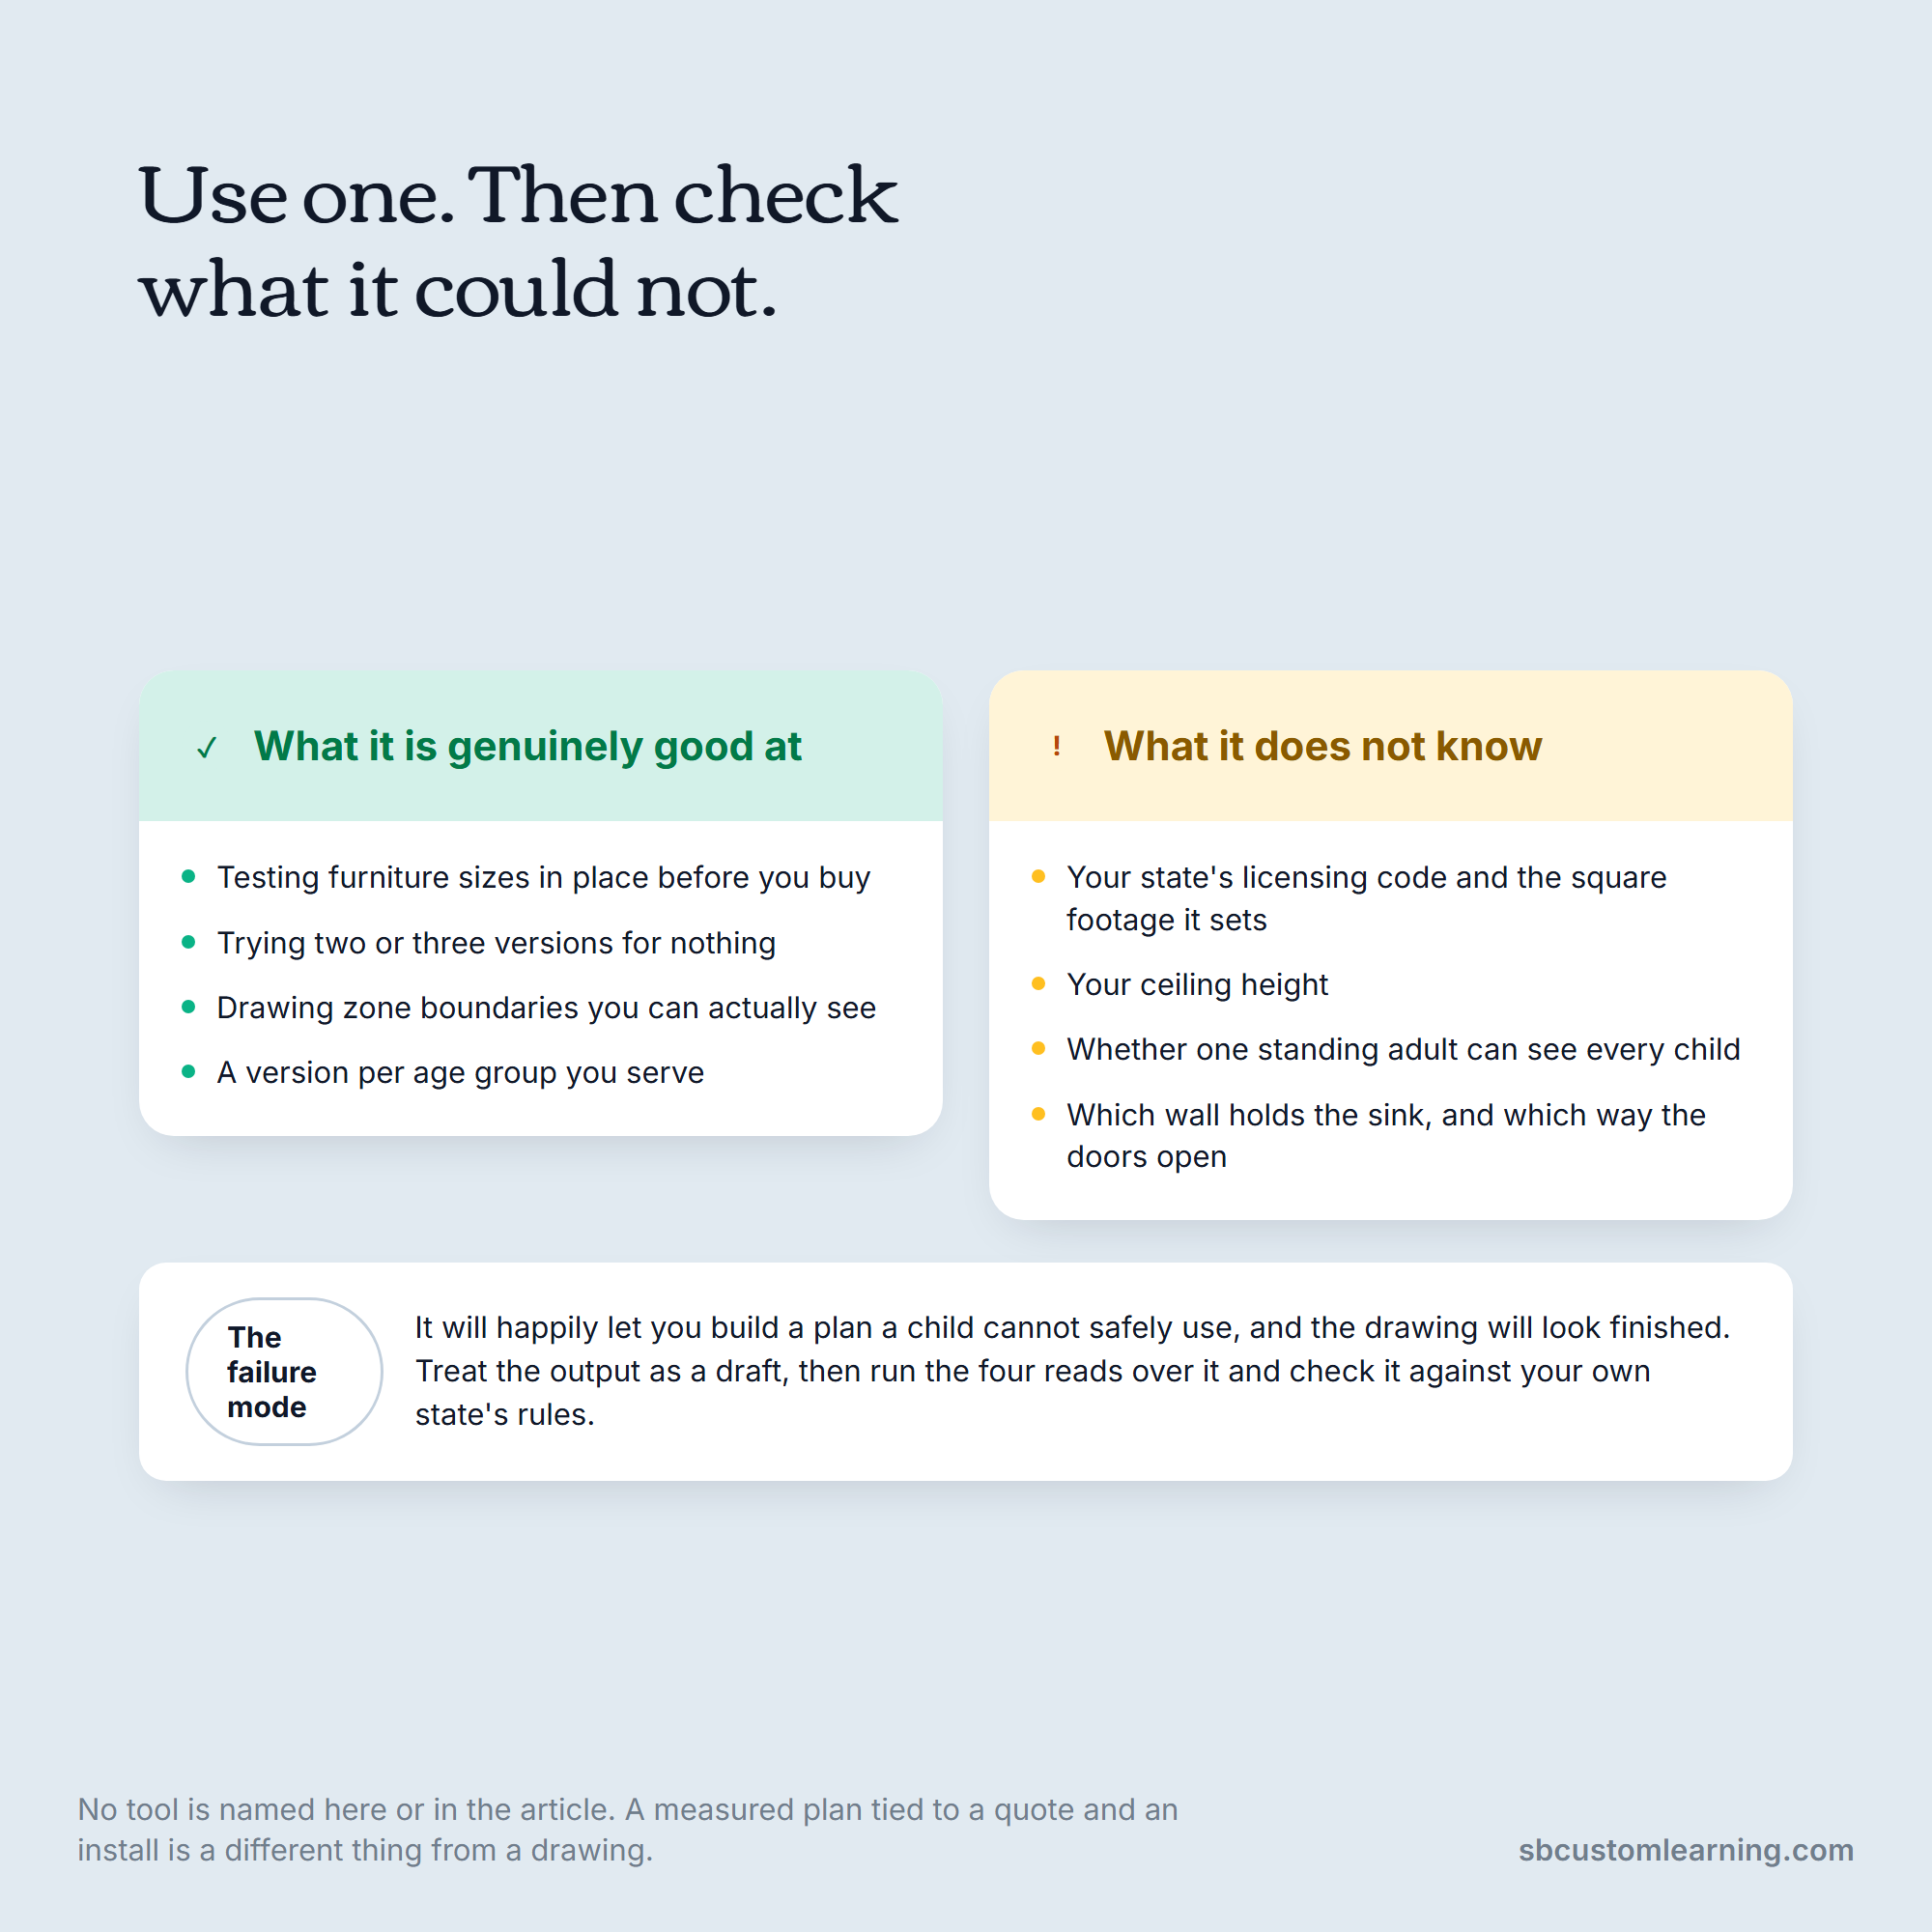
You can draw a version for each age group you serve, and trying them on screen costs nothing; getting them wrong in a real room costs a year. Most tools start from a blank grid or a sample plan and let you drop in furniture shapes and drag them around until the zones make sense. Creating classroom layout plans is the easy part; knowing what belongs in them is the skill.
Know what those tools are not. They do not know your licensing code or your ceiling height, and they will happily let you build a plan a child cannot safely use. Use one to test ideas, then check the result against the four reads in this guide and your own state's rules. A classroom layout creator is a drawing aid, not a designer.
When you want a room drawn properly, a designer measures it, works around the sink and the doors you cannot move, and hands you a plan tied to a quote and an install rather than a picture.
That is what our design and installation services include: a plan built around the room you have, the ages you serve and your budget, with the sourcing and the setup handled by the same team. Shopping is online, with samples available on request. We are a designer, a sourcer and an installer, not a manufacturer, and we price by project rather than by a published rate.
Where to Go From Here
Start with one room. Sketch it, run the four reads, choose the plan that matches your age group and your square footage, then move furniture in the order the plan gives you. Most directors find that the first room teaches them the rules for the second, and the second takes half the time, so designing a classroom layout gets faster with each one.
If the room is odd, small, or inherited from a program that ran it a different way, the plan is still worth drawing before you spend.
We furnish childcare and early learning rooms across the Midwest, and we are always glad to look at a sketch, a set of photos, or a floor plan, because the earlier we see the room the more the layout can save. When you are ready, schedule a consultation and tell us the room, the ages you serve and what is not working.
FAQs
What is the best classroom layout for young children?
For children under five, the best classroom layouts are zoned rather than rowed. Separate quiet zones from loud ones, keep messy play next to the sink, and leave wide traffic lanes that a child cannot mistake for a running track. Check that one standing adult can see every child from the busiest spot in the room.
How many square feet does each child need in a classroom layout?
In Illinois, licensing sets the floor at 35 square feet of activity area per child from age two. Infants are counted on two allowances instead, 25 square feet each for play and 30 each for sleep, and a toddler room on cribs needs 55. The national health standard asks for 42 square feet of usable floor space and prefers 50, counting only the floor a child plays on. Your own state sets the number for your building.
What is the difference between a classroom layout and a classroom arrangement?
A classroom layout is the plan: where the zones sit, which way traffic flows, and how the room meets its square-footage minimum. A classroom arrangement is how you place the furniture inside that plan, including which shelf divides which zone. You can rearrange furniture all day, but if the layout has a hidden corner or a runway, the arrangement only moves the problem around.
Can I use a free classroom layout maker or generator?
Yes, for a single room. A free tool is a good way to test furniture sizes and zone boundaries before you buy anything, and it costs nothing to try two or three versions. It cannot check your licensing code, your ceiling height or your sightlines, so treat the drawing as a draft and check it against your state's rules before you commit.
How do I create a classroom layout for a small or odd-shaped room?
Measure the room, mark every fixed item, and design around those rather than against them. Use three or four larger zones instead of many small ones, let one table do two jobs, and rotate zones around any central post until no child is hidden behind it. Bounded zones and wide lanes matter more in a tight room, not less.